
- Ce sujet contient 2 réponses, 3 participants et a été mis à jour pour la dernière fois par
 Zarnal, le il y a 7 années et 3 mois.
-
Sujet
-
 Amiga France
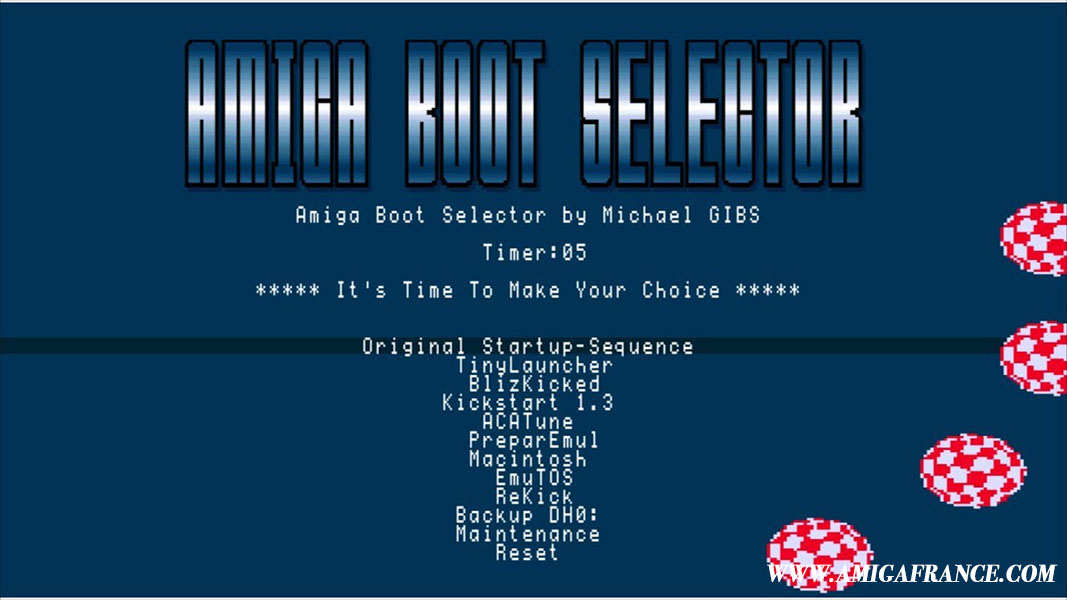
Amiga Boot Selector is a tool that’ll let you choose between many startup-sequence when you power on your Amiga. This new release made by Michael Gibs and published this year bring us some new stuff. Zarnal has wrote this step by step « howto » to help you to install, setup and enjoy this « must have » tool.Caution : If you use Winuae to prepare, be careful don’t use the keyboard as a joystick, otherwise the direction keys will not work in Amiga Boot Selector v2.
How to install ?
Step 1 :
Boot from your primary hard drive to your Workbench.
Copy abs from the archive to the DH0:c (primary partition) directory.
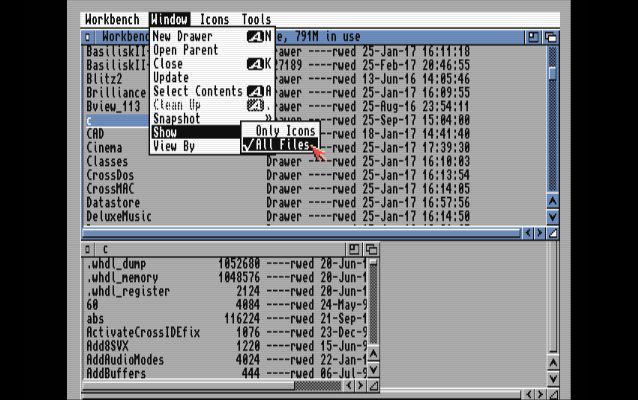
Open DH0:c and select abs, wait a few seconds, the program will go back to the workbench. An AmigaBootSelector folder will then be created automatically in DH0:s. Make sure that you have selected in the « Window » menu of the Workbench «Show all files».
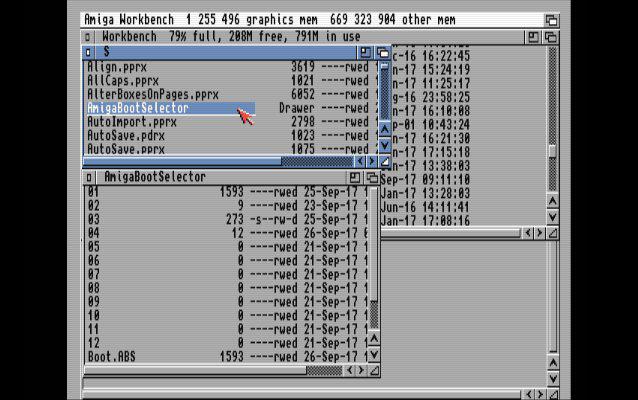
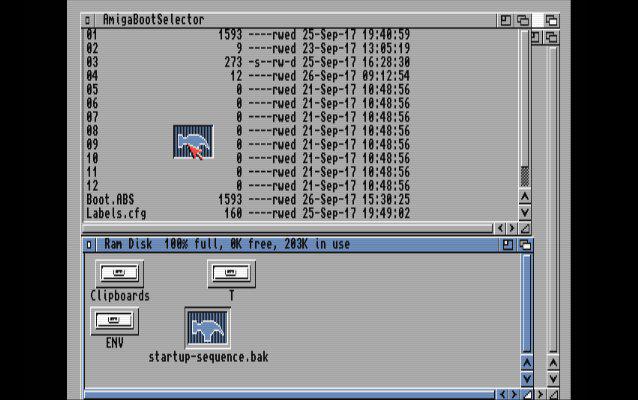
Open DH0:s/AmigaBootSelector. You will notice various files.
Step 2 :
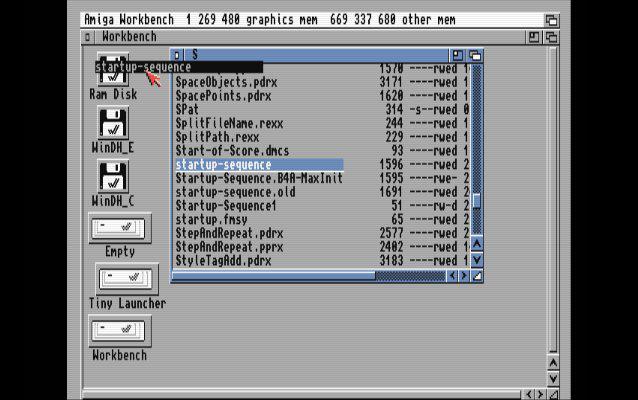
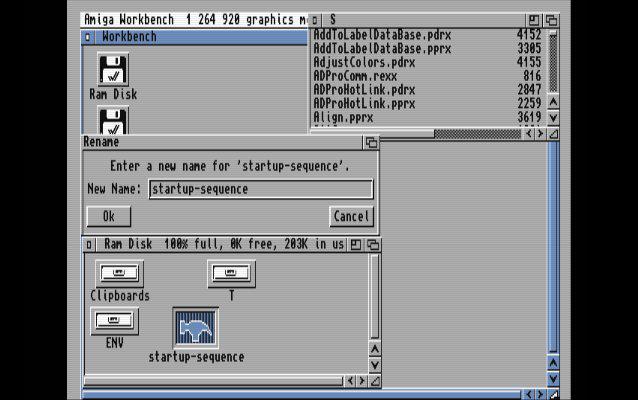
First, make a copy of the DH0:s/startup-sequence file in the Ram Disk.
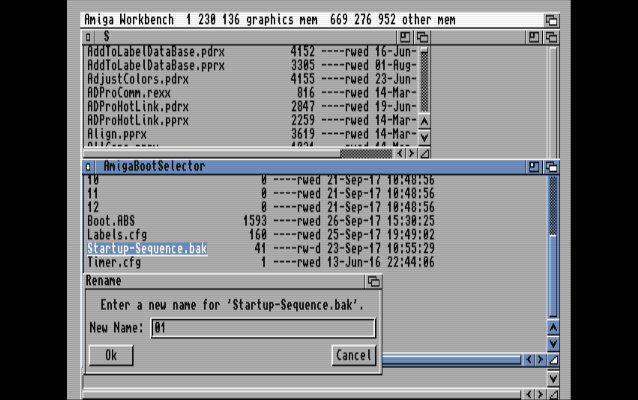
Click on the file in the Ram Disk then go to « rename » in the Icons menu and rename it to Startup-Sequence.bak. Copy the renamed file into the DH0: s folder. You will then have a backup copy in case of problems.
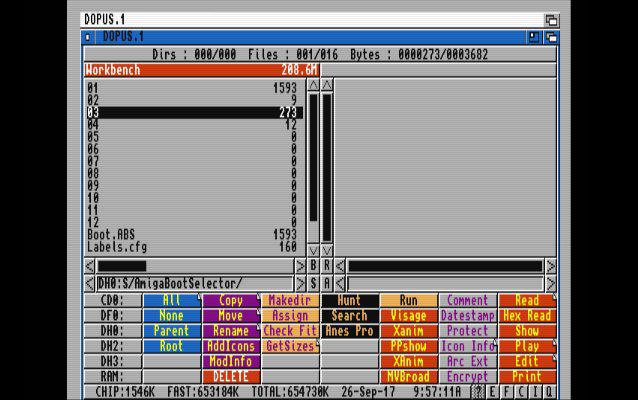
You can also use a file manager to perform this operation faster. Directory Opus seems a good choice.
Step 3 :
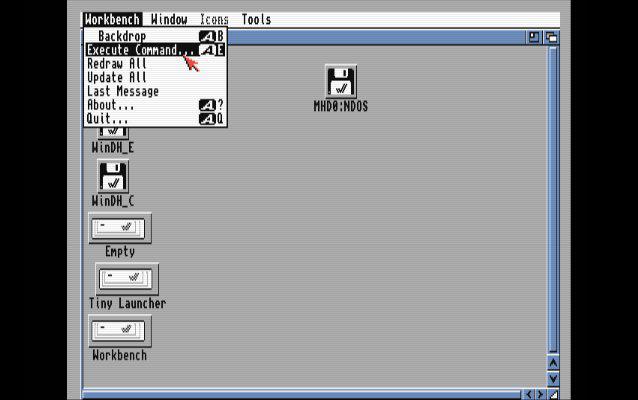
Select in Workbench menu «File/Execute Command…». Type ed and then press enter.
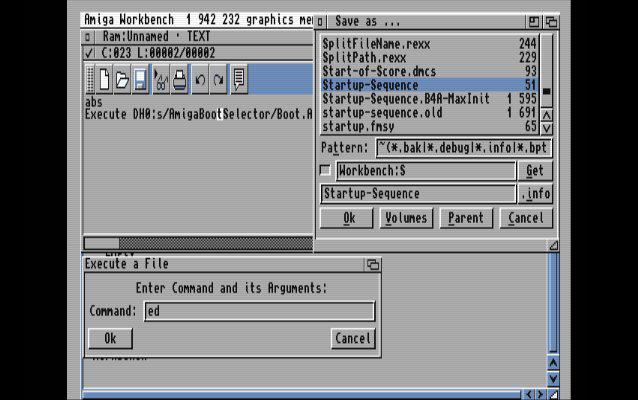
In the editor, type the following commands :
abs

Execute s:AmigaBootSelector/Boot.ABS
When this step is completed, save the file as DH0:s/Startup-Sequence.
Reminder: you have a backup of your original Startup-Sequence if needed.
Quit the editor.
Step 4 :
Make a copy of your Startup-Sequence.bak in Ram Disk: to DH0:s/AmigaBootSelector.
Delete the initial 01 file in DH0:s/AmigaBootSelector.
Rename the Startup-Sequence.bak file to 01.
Reboot your Amiga.
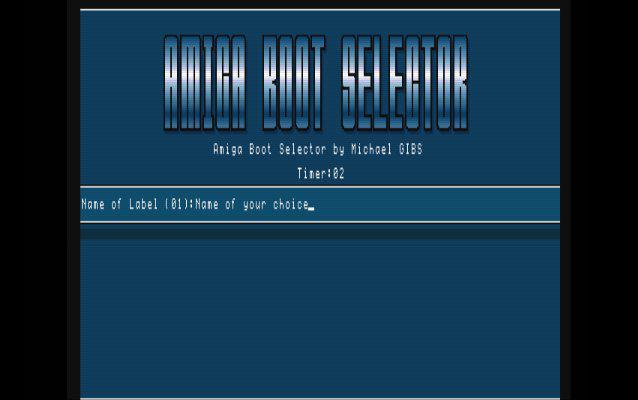
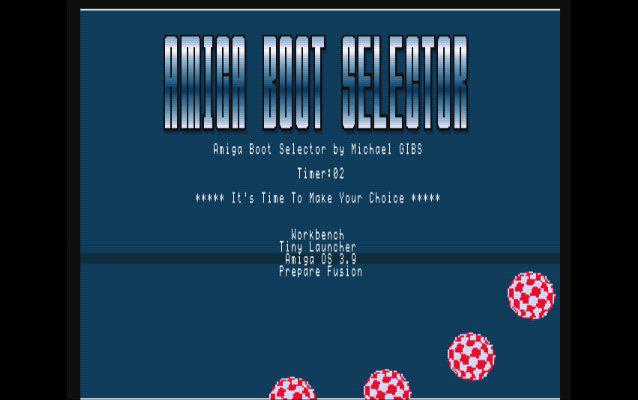
When your Amiga is restarted, you will arrive in Amiga Boot Selector. Press space to name your first choice.
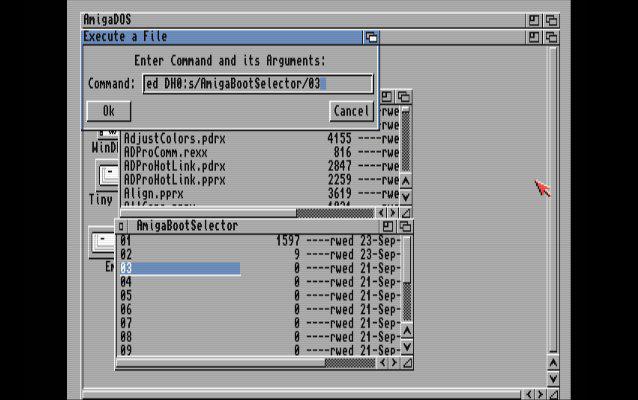
Restart the Workbench to edit the next choices (in the DH0 folder: S/AmigaBootSelector, Edit 02, 03, … as for your 01 if your various Startup-Sequences are already ready or by editing directly 02, 03, …).
Restart.
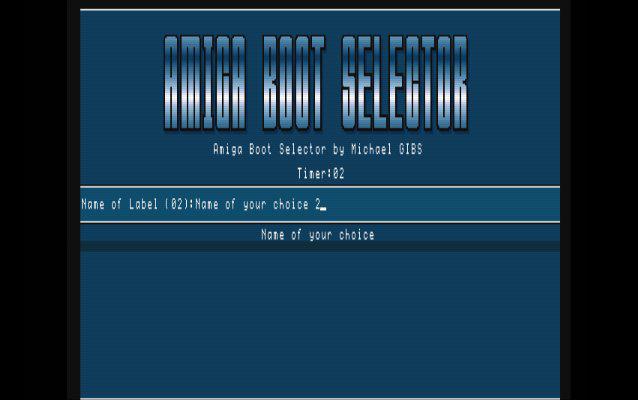
When you have returned to Amiga Boot Selector, select the second line and press space to name your next label (you will put the name of your choice).
Repeat the operation if necessary with your other startups (third line then space for 03 and so on so).
Example for amiga OS 3.9 or any other system:
We assume that it is already installed on one of your partitions. To start, you have to look at which partition DHx (DH0 :, DH1:) … is your OS.
We will now edit the label as explained above in this doc. For this example, we will assume that OS 3.9 is on DH2: (but it can also be a WB 3.1). We will use the label 3 (s/AmigaBootSelector/03).
So we’ll have to edit 03 so that everything goes right :
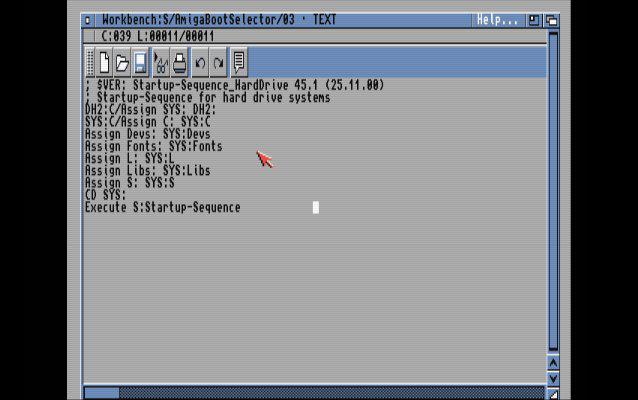
DH2:C/Assign SYS: DH2:

SYS:C/Assign C: SYS:C

Assign Devs: SYS:Devs

Assign Fonts: SYS:Fonts

Assign L: SYS:L

Assign Libs: SYS:Libs

Assign S: SYS:S

CD SYS:

Execute S:Startup-Sequence
Caution : These commands are indispensable if you do not want to end up with «mixed» systems. So here’s what you should have :
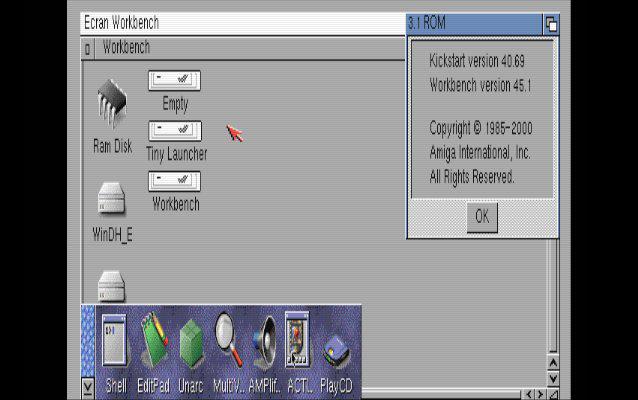
OS 3.9 once started :
I strongly advise you to use the label 1 (01) for OS 3.9 if you use this last one. Why ?
Simply because it requires a reboot before starting. This will prevent you from having to select it a second time when restarting.
Links :
Zarnal
Vous aimez Amiga France ? Alors aidez nous en partageant et en participant au forum. =)
- Vous devez être connecté pour répondre à ce sujet.